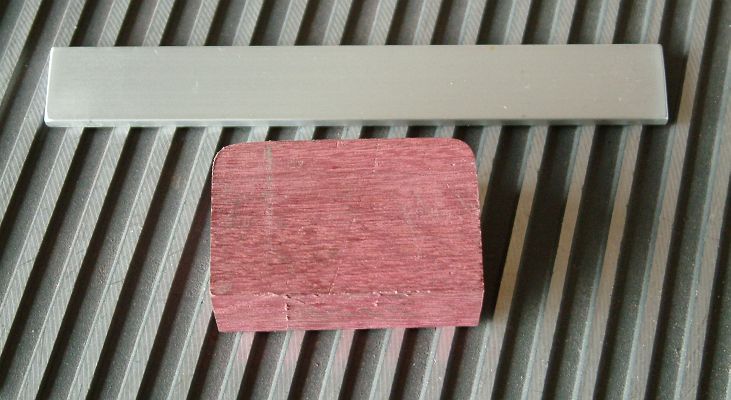
 Start by cutting the aluminum stock to the length called for in the parts list.
Next, make a wood block out of ¾” hardwood stock to use as a form to bend the yoke around. Make it 2-1/8” wide by 1-3/8” deep. Round the top corners where the bend will take place to approximately a 1/8” radius.
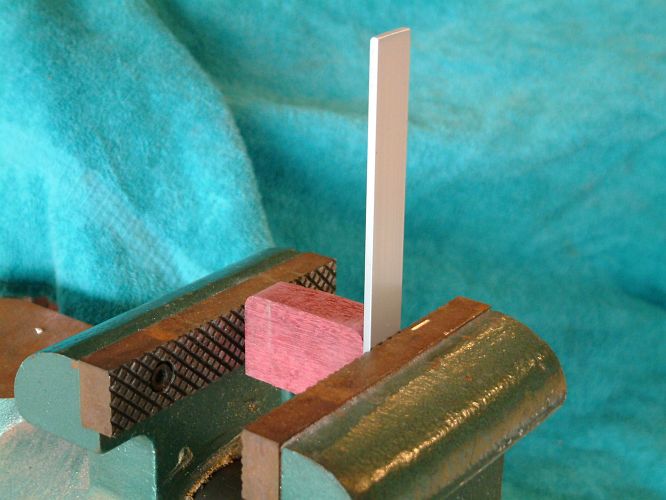 Clamp the straight aluminum piece adjacent to the right edge of
the wood block in a vise, so that the top of the block faces up and the
aluminum piece is vertical. Line up the bottom edge of the
aluminum with the bottom edge of the wood block and carefully along the
blocks side.
Clamp the straight aluminum piece adjacent to the right edge of
the wood block in a vise, so that the top of the block faces up and the
aluminum piece is vertical. Line up the bottom edge of the
aluminum with the bottom edge of the wood block and carefully along the
blocks side.  Most aluminum bends pretty easily, but some alloys do not. If you have trouble bending it, you might want to apply a little heat from a propane or micro torch at
the point of the bend, to aid in the bending.
Most aluminum bends pretty easily, but some alloys do not. If you have trouble bending it, you might want to apply a little heat from a propane or micro torch at
the point of the bend, to aid in the bending.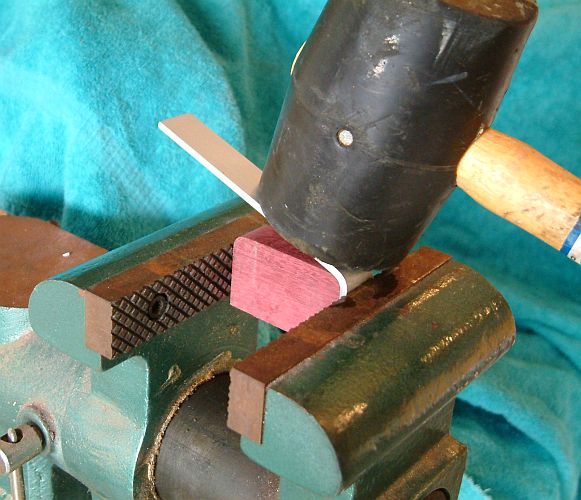 Tap
with a
wood or rubber mallet a little above the bend location and slowly bend
the aluminum around and across the top of wood block. If you don't have
a mallet, you can tap a hammer on a block of scrap wood pressed against
the aluminum.
Tap
with a
wood or rubber mallet a little above the bend location and slowly bend
the aluminum around and across the top of wood block. If you don't have
a mallet, you can tap a hammer on a block of scrap wood pressed against
the aluminum.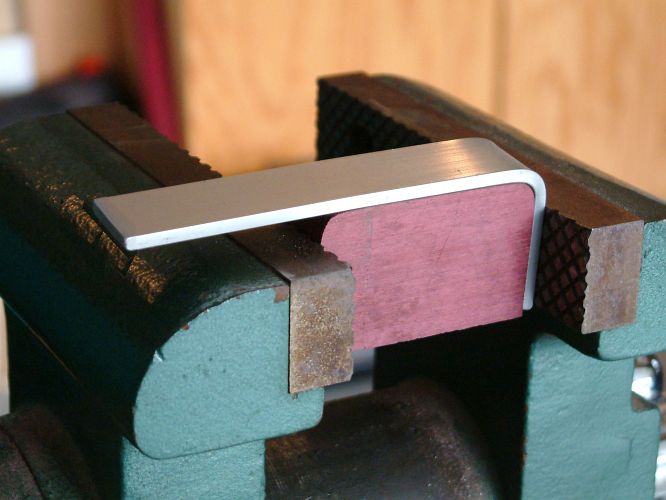 After the
bend is complete, try and ensure that the top of the yoke is flat
against the wood block. You should now have an L-shaped piece of
aluminum, with the right leg and top of the yoke formed.
After the
bend is complete, try and ensure that the top of the yoke is flat
against the wood block. You should now have an L-shaped piece of
aluminum, with the right leg and top of the yoke formed.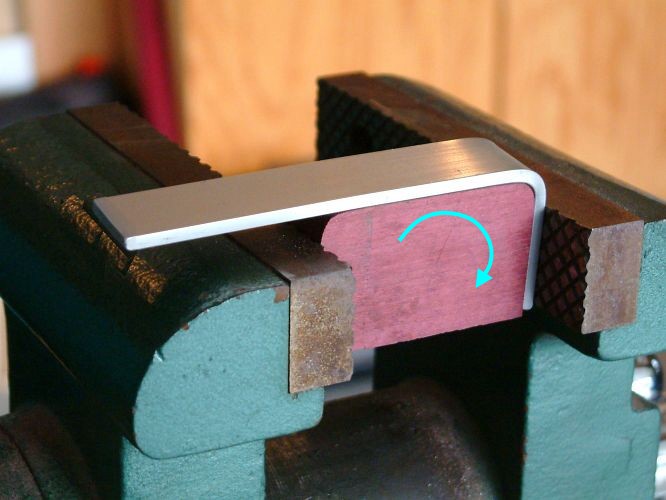 Turn the aluminum/wood block 90º in your vise so the left
side of the block is facing up and the remaining leg of the yoke is
vertical. Now repeat the previous procedure to bend the third
side of the U-shape.
Turn the aluminum/wood block 90º in your vise so the left
side of the block is facing up and the remaining leg of the yoke is
vertical. Now repeat the previous procedure to bend the third
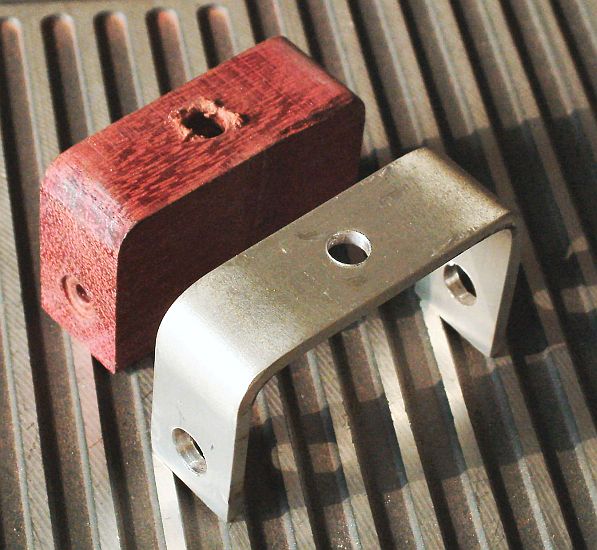
side of the U-shape. 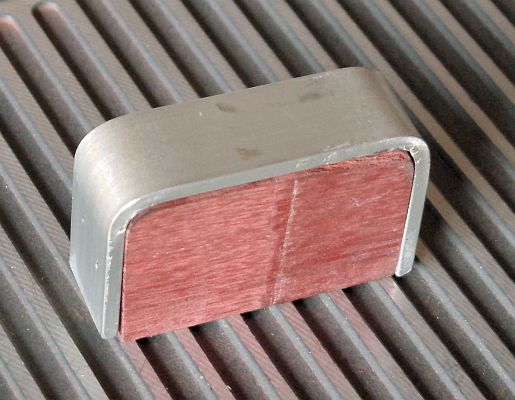 The yoke is basically formed, but may need some finishing before you drill the holes and assemble it.
You may need to grind a little off the third leg to make it even with the first leg. You might also need to do a little more adjusting of the legs to get them at 90º to the top and parallel to each other. You also may need to work a bit to try and get the top of the yoke as flat as possible. None of these needs to be done to critical dimensions, but you should get them fairly close or your NF4 won't look good and may not work properly.
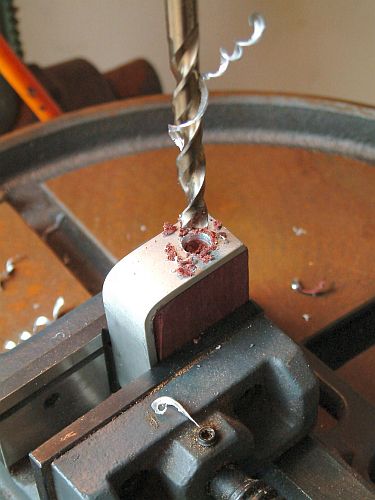
 Using a square, measure down the yoke from the top to mark the locations of the holes to be drilled in the yoke: