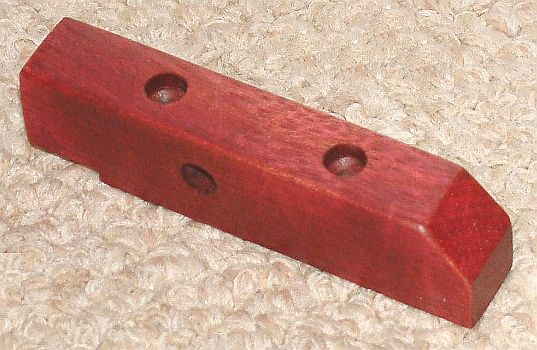
 Cut the 45-degree angle at the bottom of the stop block.
You also need to create a receptacle for the plastic insert. To do this, drill a 3/8” hole directly down into the top of the rotator stop. You should clamp this piece vertically in your drill press bench so that the bit is parallel to the side of the piece. You do not need to counterbore the plastic insert into this part as you will with the toggle board stops.
Also, drill the 5/16” hole for the stabilizer bearing through the side of the stop block.
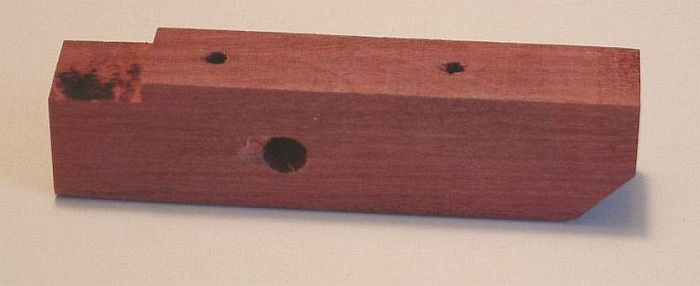
Drill pilot holes and countersinks for the long screws, which will hold the rotator board stop to the backer board.
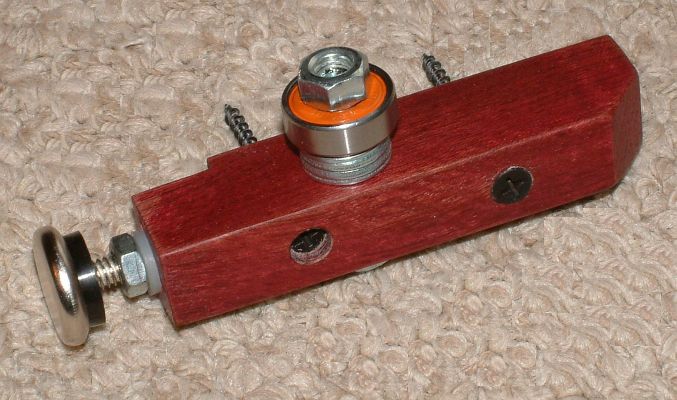 Install the rotator stop adjusting hardware. The 3/8” plastic
insert should be tapped into the 3/8” hole in the top of the rotator
stop block. I suggest gluing the insert in place with wood glue
as well.
Install the rotator stop adjusting hardware. The 3/8” plastic
insert should be tapped into the 3/8” hole in the top of the rotator
stop block. I suggest gluing the insert in place with wood glue
as well.